Posts Tagged ‘DIY’

DIY–Vet or Doctor’s Kit

Sunday, July 22nd, 2012

Since we studied the letter V this past week at our Toddler School I thought it would be a great chance to make the doctor’s kit I had been wanting to for Mikayla.  It was super easy with a little felt, hot glue and some Velcro.  I was able to make it during one of her naps and still had time to pick up and do some planning too! 

ABC hunt and letter V 040

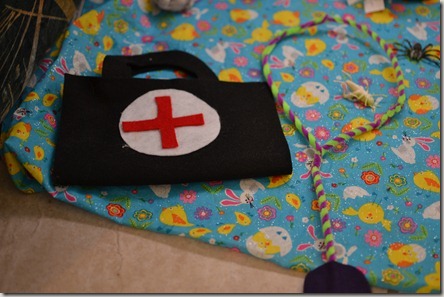
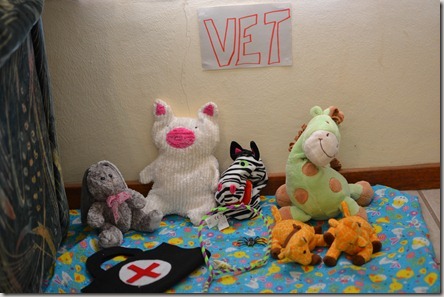
Here is the vet office I set up.  I laid a scrap of fabric on the floor and then sat all of her stuffed animals on top.  Then I made a quick sign that said vet and laid out her doctor’s kit I made.

ABC hunt and letter V 041

Close up of her doctor’s kit.

ABC hunt and letter V 042

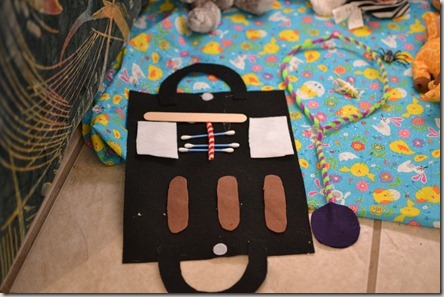
When you open it up this is what you have:  three Band-Aids, two white bandages, some Q-tips (that she uses as thermometers sometimes) and a tongue depressor.  Each piece Velcro’s onto the back bag and it Velcro’s shut so it is portable.  I also made a stethoscope out of some pipe cleaners by twisting them together.  They don’t have the ear pieces, but she doesn’t notice!

She was very excited to wake up from her nap to find this special surprise and has been playing with it all week!  I would say it was a hit that cost me next to nothing! She has even used it to "doctor" her baby dolls.

1
Tags: , ,
Posted in Parenting |

How to Make a Mud Pie

Sunday, May 6th, 2012

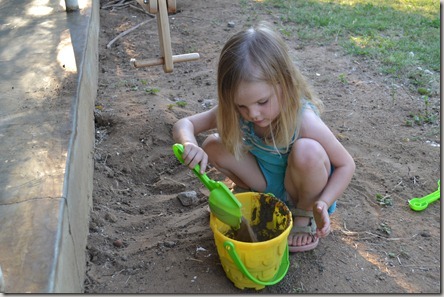
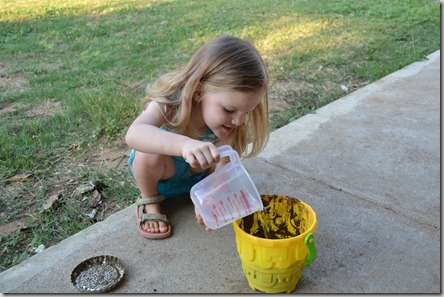
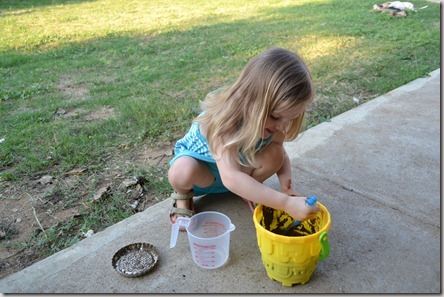
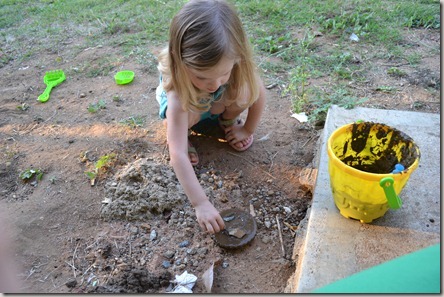
It is still warm here during the day, but at night time it has started to cool off some.  So, we have been spending lots of time in the evenings outside playing, reading and enjoying the coolness!  This week I introduced Mikayla to mud pies.  I can’t believe I hadn’t done this yet, it is such a favorite childhood memory of mine.  Sitting in the corner of our yard making mud pies with my sister and "selling" them over the fence!  In case you have forgotten how or have never made a mud pie before, here are some step by step directions.

Step 1 – Gather your supplies.  You will need dirt, water, a pail or bowl to mix in and a pan to use as your pie pan.

Step 2 – Gather some dirt (or sand) and mix in some water.

Mickey party, swim and swing 027

Mickey party, swim and swing 028

Mickey party, swim and swing 029

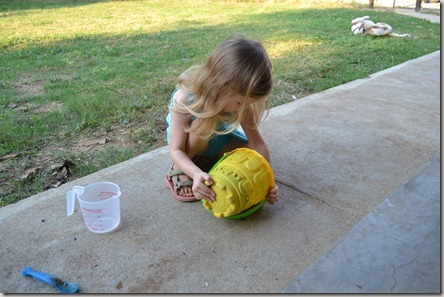
Step 3 – Pour into pie pan (or other container you deem as your pie pan).

Mickey party, swim and swing 030

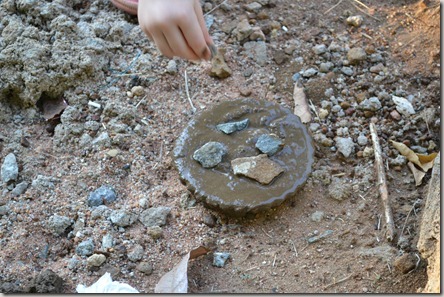
Step 4 – Add "berries" or extras to your pie if you want (i.e. rocks, leaves, stems, grass, pretty much anything you can find outside).

Mickey party, swim and swing 032

Mickey party, swim and swing 033

Mikayla kept calling this her cherry mud pie!

Step 5 – Enjoy and repeat!

Mickey party, swim and swing 034

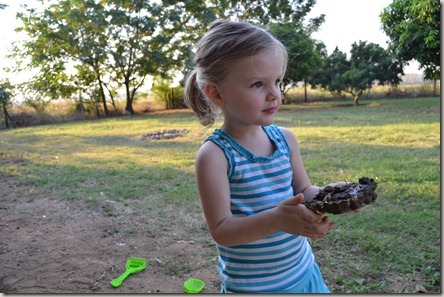
She had a lot of fun, although I must say she wasn’t a fan of actually touching the mud with her fingers.  If she got mud on them, she wanted to immediately wipe it off.  We are working on that though!f  If you have kids and you haven’t made a mud pie with them yet, I suggest you go out and do it today!  So much fun and great for the imagination!

0
Tags: , , ,
Posted in Parenting |

Felt Mr./Mrs. Potato Head

Monday, December 5th, 2011

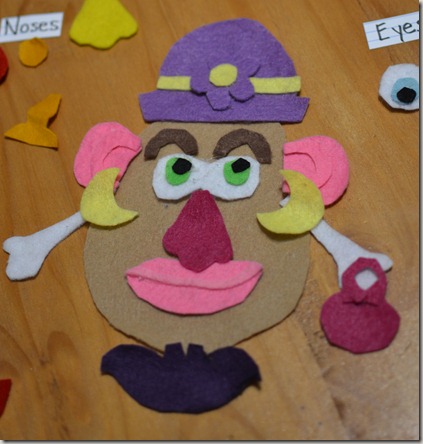
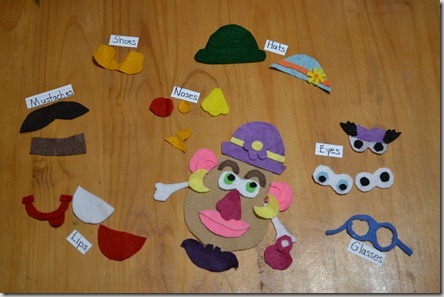
I love the idea of giving homemade gifts to Mikayla.  Last year we made her a kitchen set (that my nieces and nephews now enjoy).  This year I had the idea to make her a teddy bear dress up doll with different outfits, but when I started to make it I just wasn’t "feeling it".  Then I ran across a picture of a felt Mr. Potato Head here.  I didn’t wanted to recreate this exact model (mostly because I don’t have felt or a sewing machine), but I did want to come up with something similar.  Here is what I came up with:

tree, letter g and mr. potato head 021

I just cut out a basic potato shape out of brown felt and then "accessorized".  I even made some male items to make a Mr. Potato Head instead of a Mrs.  I was very pleased with how it turned out and think that Mikayla will love it.  I am also excited about how easily this will travel with us and keep her entertained on long trips!

tree, letter g and mr. potato head 015

1
Tags: , , ,
Posted in Parenting |

Mikayla’s Kitchen

Friday, December 31st, 2010

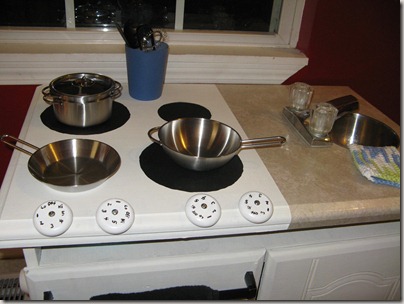
When I saw this post about a kitchen made from an old TV stand, I knew Mikayla needed one for Christmas.  I looked for months for the perfect stand, but could never find it.  Finally, right before Thanksgiving I stumbled upon the perfect one.  I immediately purchased and drove home to begin plotting how we were going to transform it for her Christmas gift.  By we, I mean how Ben was going to transform it, and I was going to paint it!
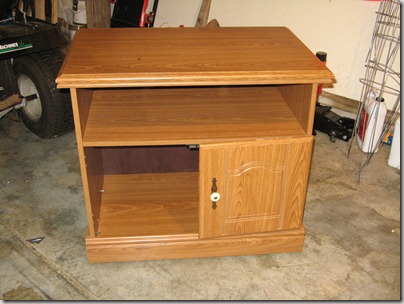
Pre-Christmas and Garth 013 I didn’t remember to take a picture before Ben took the first door off, but you can pretty much get the picture of how it looked. 

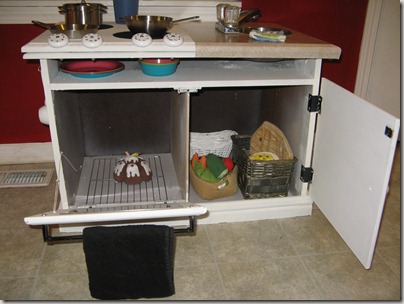
The first step was to drop the top down a bit so it wasn’t so tall.  Then Ben made a hole for a sink.  We got an old faucet from Habitat Restore and used a metal bowl we already had on hand for the sink basin.  Then Ben switched the hardware out so the door on the left opened down like an oven instead of to the side.  He also cut a whole out and put some plexi glass in to make it look like an oven door and added in an old oven handle, also from Habitat Restore.  The final addition was to add a wall in between the cabinet and the oven.
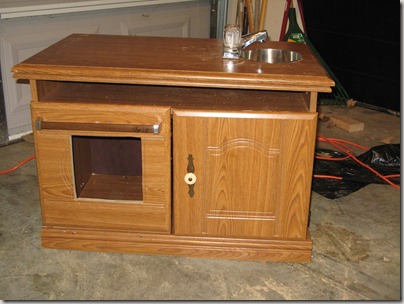
Pre-Christmas and Garth 022

Cabinet before paint and finishing touches.

My job was to paint the cabinet white and make some knobs for the stove.  I got some wooden circles from Hobby Lobby, painted them and added in some numbers.  They were perfect.  We also found some Contact paper that looked like marble, which we added to the sink side of the kitchen unit.  I painted some black circles on the stove side and we were set.  Now all we had to do was fill it with kitchen goodies (courtesy of IKEA mostly) and our kitchen was complete.  We complimented it with the cutest table and chairs I found at Little Lulu’s, a consignment shop in Bowling Green.
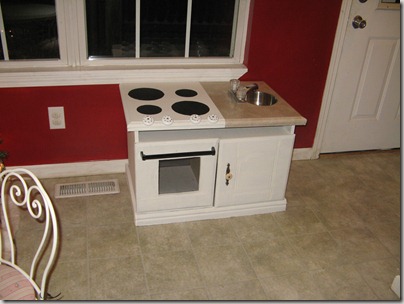
Christmas 018 Kitchen before we stocked it with goodies.
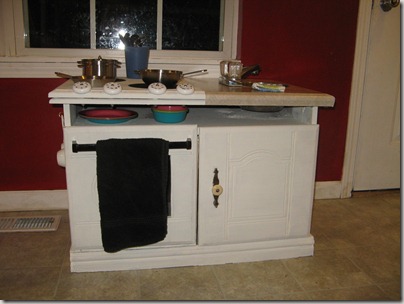
Christmas 025

Christmas 026

Christmas 027We still want to add a shelf in the oven, but just never got around to it. 

After we got finished we weren’t sure where we were going to put it all.  At first we thought the kitchen, but then we thought it would take up too much space.  We found the perfect solution when some friends of ours decided to transform their kids rooms for Christmas.  They were gracious enough to hold onto our bedroom suite for a few years while we live in Africa and it was the perfect timing to make the switch.  Mikayla loves playing in her room now and there feels like a lot more space!
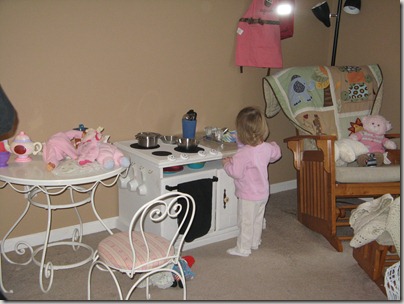
Christmas 045

Mikayla’s new and improved room with her fun kitchen and table!
0
Tags: , , ,
Posted in Parenting |

Sensory Tub

Tuesday, November 2nd, 2010

I have been wanting for some time now to put together a sensory tub for Mikayla.  A blog I follow, Counting Coconuts, makes a different tub for her three year old every couple of weeks.  I am blown away with her creativity and thought I would try my hand at it.  I love the idea of giving kids toys that stimulate creativity, sensory integration, and are made from common household items. 

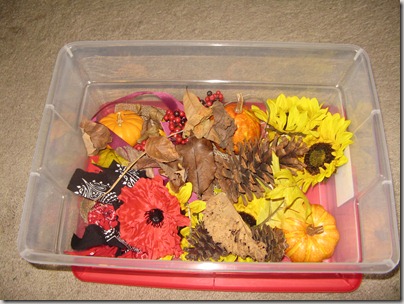
When she was younger I tried my hand at a few simple toys like a water table and a fine motor toy where she stuck chopsticks in holes.  You can read about them here.  Then a few weeks ago I made playdough.  I thought a fall sensory tub would be the next best project!  I had plenty of items lying around the house from my scarecrow costume and picked up a few last minute additions at the store today.  It is simple and (hopefully) fun!

IMG_9617 

Fall Sensory Tub

IMG_9618 

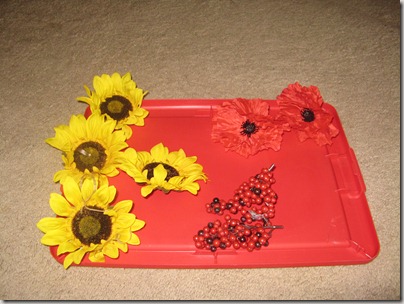
Fall colored flowers and berries (all fake so they will last longer).

IMG_9619 

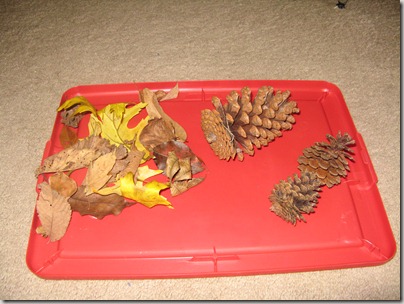
Fall leaves (some real and some fake) and pine cones.

IMG_9620 

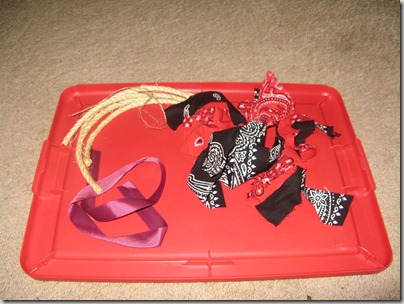
Bandana scraps tied together to make ball things, ribbon, and rope.

IMG_9622

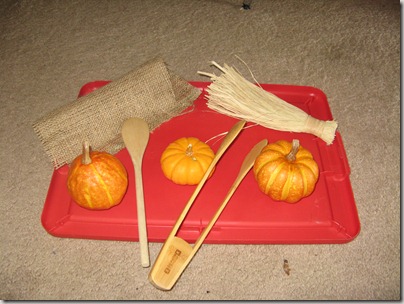
Wooden spoons and tongs for picking up and exploring items.  Piece of burlap sack, pumpkins (real and fake) and a straw brush made from raffia tied together.

When Mikayla wakes up from her nap she will get to explore the tub.  I will try and post pictures later!

2
Tags: , ,
Posted in Parenting |

Homemade Playdough

Tuesday, November 2nd, 2010

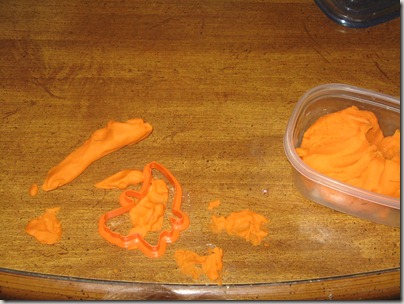
When Mikayla had some friends over for a play date a few weeks ago, we decided to try our hand at homemade playdough.  I am so glad we did!  It was easy peasy, smelled yummy, and not nearly as sticky as regular playdough.  Plus, if Mikayla or her buddy so desired they could eat it.  That’s right, edible playdough!  In school, when we studied spiders, we always made edible playdough.  The downside to this playdough was that it included peanut butter, something Mikayla couldn’t eat yet.  So naturally I went to Google and found this website with a lot of different playdough recipes.  We decided to go with the one posted below for our trial run.  I am so glad there are crafty people out there who think to mix up common kitchen items and create fun things like playdough for kids!  If you have never made your own playdough, you should very soon!  So much better than the store bought stuff.

Kool-Aid Play Dough
1 cup flour
1 cup water
1/2 cup salt
3 teaspoons Cream of Tartar
1 package Kool-Aid Mix (any flavor of unsweetened)
1 tablespoon cooking oil

Mix dry ingredients together in a large saucepan. Slowly add water mixed with oil and stir over medium heat until mixture thickens to dough. Turn out onto a heatproof bread board or counter top and knead until cool enough for children to handle. Dough will be the color of the Kool-Aid mix and will smell like the Kool-Aid mix. (Can be stored in a tightly covered container for up to six months; however after about a month it tends to get a little stickier!)

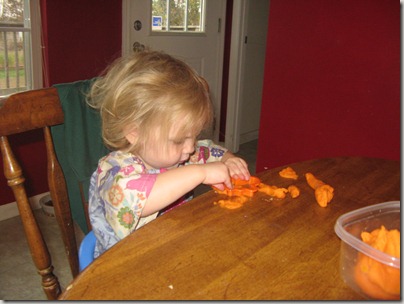
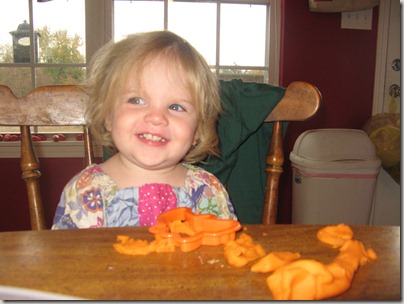
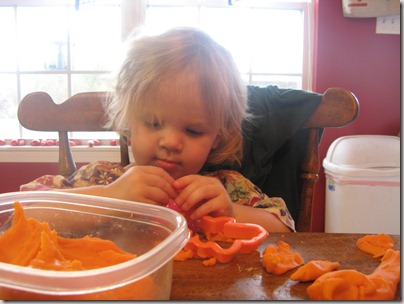
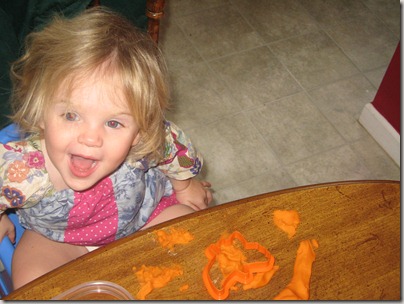
Here are some pictures of Mikayla and the playdough, just ignore her unruly hair it was right after naptime!

October 009

October 002 

October 003 

October 005 

October 011

1
Tags: , ,
Posted in Parenting |