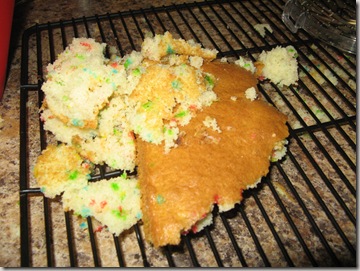
Have you ever been extremely excited about a cake and then this happens:
Well I have a solution for you – CAKE POPS! This is a clever creation that I stole borrowed from Bakerella and adapted to meet my needs. MckMama also made some the other day and inspired me to do the same. She called hers Snow Pops, but whatever you call them, they are delicious!
Here is what you will need to begin:
· Standard cake mix (choose your flavor, I chose Funfetti). I guess if you wanted to be adventurous you could make a cake from scratch, but I was on a time crunch!
· Icing (I used a cream cheese icing I made – see recipe below)
· Wax paper
· Sucker sticks
· Candy melts (I used both white and milk chocolate melts)
· Sprinkles
Step 1: Prepare cake according to package (so I guess technically you will need oil, eggs and water). While cake is cooking/cooling move on to Step 2.
Step 2: Prepare icing (if making from scratch). To make the cream cheese icing combine an 8 oz. package of softened cream cheese, 6 Tbsp of softened butter, 1 Tbsp of milk, and 3 cups of powdered sugar. Mix until lumps are gone and it resembles icing for a cake.
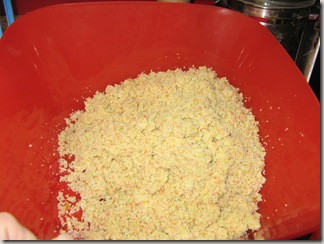
Step 3: Crumble cake (once cooled). I used my food processor to do this and worked marvelous.
Step 4: Add in icing one cup at a time until the cake/icing combo can be formed into balls.
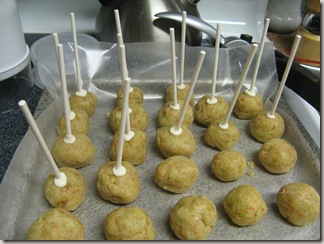
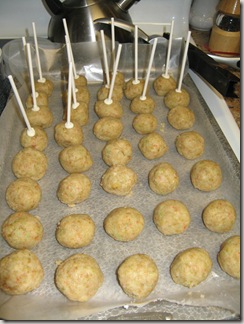
Step 5: Roll cake/icing mixture into small balls and place on cookie sheet covered in wax paper.
Step 6: Melt a small portion of the candy melts in the microwave according to package (I melted in a coffee mug and this worked well). Once melted dip the tip of your sucker sticks in and place halfway in cake/icing balls. Place in freezer until firm.
Step 7: Melt a few candy melts at a time (I melted 1/4-1/3 of the bag at one time) in microwave. Add food coloring or coloring gel until desired color is formed. Obviously if you are using milk chocolate melts you won’t be able to change the color, but using white chocolate you will be able to.
Step 8: Dip cake balls in chocolate until well coated. Immediately sprinkle on sprinkles if desired.
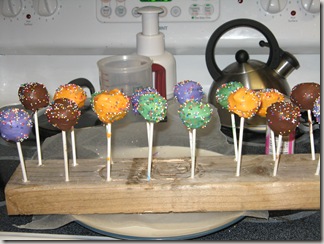
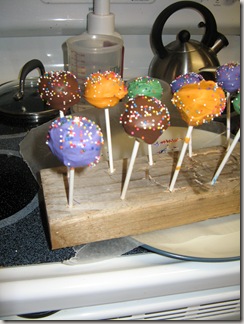
Step 9: Dry upright until hardened (a minute or two should do the trick). Styrofoam blocks would work best for this, but I didn’t have any on hand and didn’t feel like running to the store. My sweet husband helped me improvise by taking a 2 by 4 and drilling holes into it. It worked just as well I think!
Step 10: Figure out a way to present them in a fun way and enjoy! I took them to a New Year’s Eve party and they were a hit! This recipe makes about 50 and they were all gone before the evening was over.
