Do It Yourself Kite Making
Last week I was inspired by a few consecutive windy days to go and fly a kite. Unfortunately, I could not find one at the local stores, so I decided to make one myself.
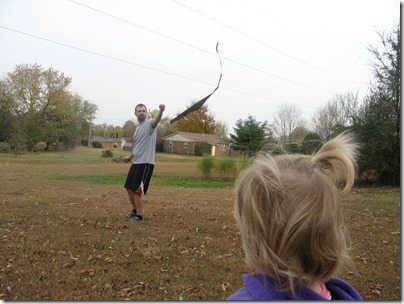
My first attempt at a homemade kite was entirely self-guided and turned out less than stellar:
[Mikayla was not impressed. Note: The power lines in the background were
never a worry since the kite never made it more than 4′ off the ground.]
From this try I learned a few things:
- It is worthwhile to learn from other’s instruction.
- Good wind does not make up for bad design.
- Tails on poorly made kites do help… but not enough to matter.
- The convex side of the kite should face you not the concave side (a kite is not supposed to “grab” the wind, it is suppose to skip off it.)
I swallowed my pride and did some research on the internet on basic kite design. The most helpful site I found was My Best Kite. My second attempt at a kite followed the basic instructions for the large diamond dowel kite. After that attempt proved to be a success, even in light wind, I made a few adjustment and built Kite #3. Here is how I did it:
Step #1 – Get your plastic
I started with a large strip of black plastic sheeting I had laying around, but you could easily use a large garbage bag and get the same results. I cut it to roughly 38″ x 38″ to work with the 36″ x 3/16″ dowels I got at my local superstore.
Step #2 – Create your vertical pocket
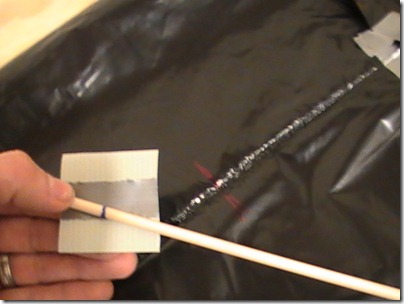
I used duck tape just for durability. I am sure a lighter tape would work fine too, but I have had no problems with the great grey miracle. All I did was take a 4″ section and double it over the top center of the plastic (I had a nice crease that made things easier to line up). I then folded that down and used two smaller strips to secure it in place.
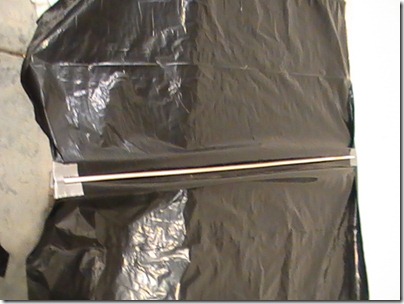
I then put the dowel rod (technically called a “spar”) in the top pocket and then moved to the bottom. I trimmed the plastic to make it the right height, then created a matching pocket that allowed the dowel to pull tight, but not enough to bow it.
Step #3 – Prep the Horizontal Spar
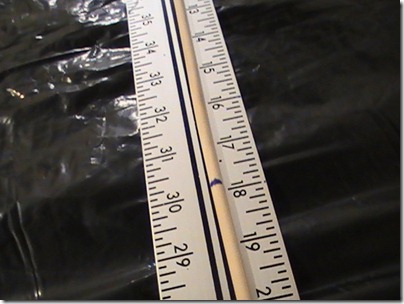
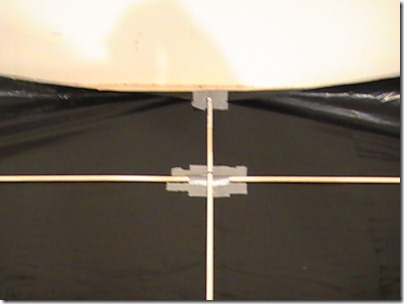
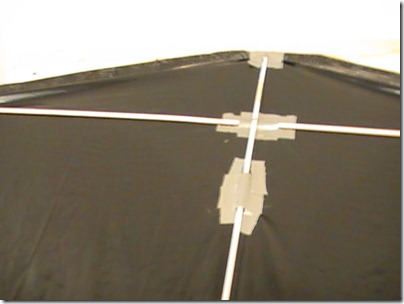
Find the center of your horizontal spar and mark it. Then mark your vertical spar 6″ down from the top. These will form the support for your kite. There are several ways you can affix them together. You can attach a tie point (as seen on the website) , you can simply tape them together (that is what I did for Kite #2 and it worked fine) or you can create tunnel pockets on the kite. For this design I tried the later.
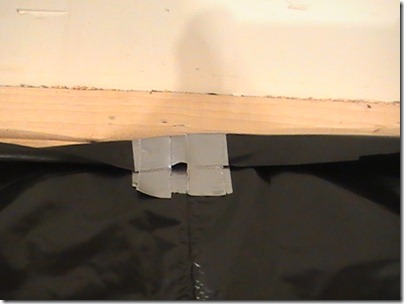
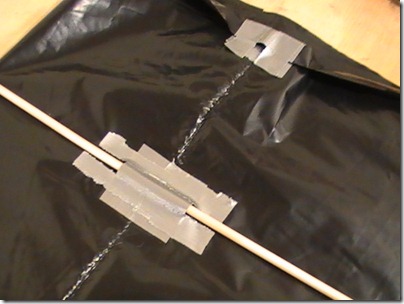
To do it, simply cut a 2-3″ inch strip of duck tape, flip it over, then attach a smaller strip down the middle. Place that at the 6″ point for the horizontal spar. Use additional tape if you so desire.
After completing the kite, I decided use a vertical tunnel pocket as well and installed it after the fact a few inches below the horizontal pocket. It would certainly make sense to do that at this stage as well. You can see a picture of it down in Step #5
[NOTE: See Update below for tips on improving this process.]
Step #4 – Create the horizontal pockets and bow mechanism
In order for a kite to be stable while it flies, it needs to deflect the wind. The easiest way to do this is to create a bow in the kite. For Kite #2 I followed the instructions on the internet and used notches and a toggle. It worked fine, but took a good bit of time to get right and was not adjustable. For attempt #3, I decided to try another approach and use a bow line attached to the corner pockets. I am sure there are multiple ways of doing this but here is a method that worked for me.
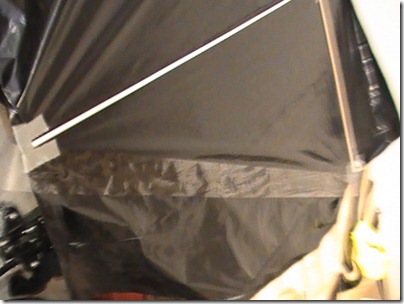
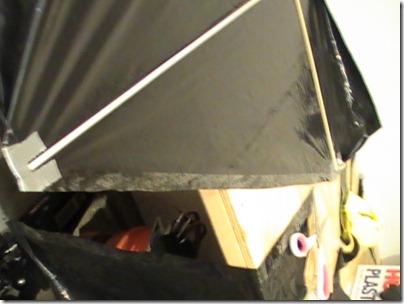
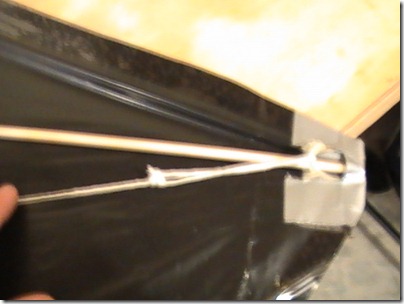
Begin by laying out your horizontal pockets just like you did the vertical ones by cutting the plastic so you have a small over lap and doubling up duck tape. Go ahead and crease it so you know where they will be when they are complete. Again, you want the spar to be tight, but not already flexing. Then install a tie off point. I used some fiber tape that was folded up in the middle. Then you can secure the pocket like normal. [Note: You want to keep the loop a bit large so you can slip the spar in under it into the pocket.]
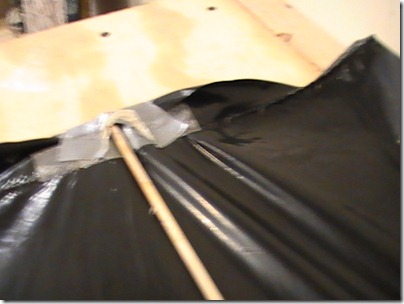 [Sorry for the blurry pictures, but I think you get the point.]
Step #5 – Secure the Edges
At this point your kite should be coming together. Go ahead and install both spars. You should be seeing lines of tension in the shape of a diamond.
The internet instructions have you cut out the kite design first, but I have found it is much easier to make your cuts at this stage of the build. This way your kite is cut exactly along your points of tension instead of loosely fitting your design.
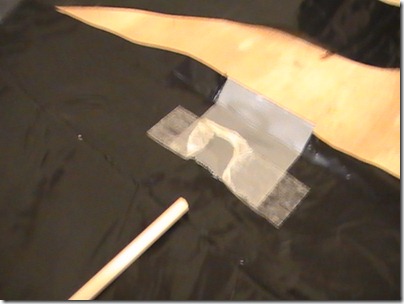
To secure the edges take a long strip of clear packing tape and affix it from spar pocket to spar pocket. You will want the tape to run right next to the end of the spars. You can simply tape over the folded plastic. Once this is done, all you need to do is cut along the center of the tape. Do this for all four edges.
Step #6 – Attach your Bow Line
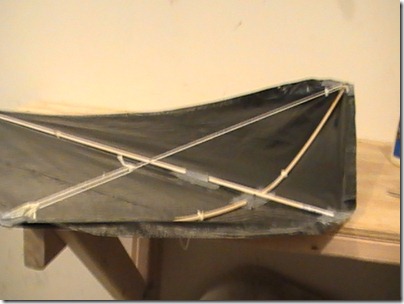
We are now ready to give our kite some shape. Cut a long piece of cotton twine about 45″. Thread each end through the tab you created on the corner pocket and tie it with a prusik knot. This will be your bow line.
A Quick Note about Knots
Knowing various knots sure can help the kite making process. If you are not familiar with ropes and knots, this may be a bit difficult. I have found many of the techniques used here can be side stepped with some creative thinking. For instance, in many cases you can simply tie loops in in your line and attach things together with a paper clip or a fishing snap. For this whole project I used prusik knots because they are relatively easy, secure and adjustable. Prusiks are generally tied using a loop of cord that is wrapped through itself (see example here). If you wish, you can make a prusik from a small loop then tie the end of your cord to the “tail loop.” However, you can also tie a prusik from a single line and then secure it with a half hitch. That is what I have done for my kite. I have recorded a video on how to tie a prusik knot on the end of a line.
The prussic knot will allow you to adjust the tension on the bow line because as a friction knot, you can slide it into place and it will remain there. Ideally, you want your horizontal spar to bow about 3″ (that is the distance from deepest part of the spar to the bow line.)
Step #7 – Attach the Bridle
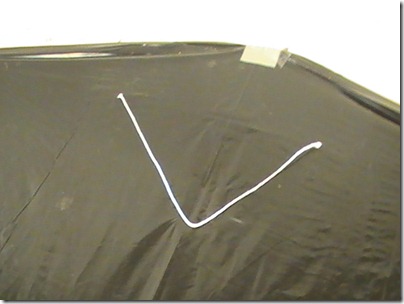
From the center of your kite measure 6″ in both directions and mark it on your horizontal spar. Cut a small hole in the plastic so you can thread some line through. Cut about 20-24″ of line and thread it through bottom of your kite. Secure line with several knots (and perhaps a bit of wood glue like I did). When this line is finished, you should be able to pull it away from the body of the kite and it be about 6″ to the apex. Adjust your knots and line if you need to.
Measure up 12″ from the bottom of you kite and cut a similar hole. Attach a 36″ piece of line to the vertical spar. These three points will form the bridle of your kite.
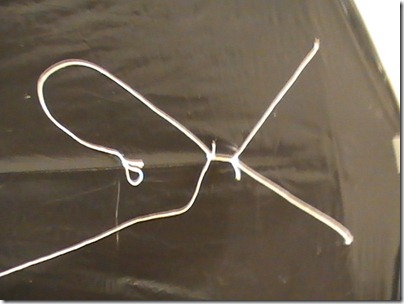
Now here is where I got fancy. Instead of just tying the lines together to form a three-line bridle, I decided to incorporate prusik knots into the design so I could adjust things on the fly. Using a short bit of line, I tied a prusik to the horizontal line and then tied another prusik to the vertical line. This allowed me shift the focal point of the bridle side to side and forward and back. This gave me plenty of opportunity to experiment with optimal flying configuration and to adjust for inconsistencies in weight and/or balance.
If you don’t want to get fancy, just tie thing together so the apex of the pyramid from your lines is directly over the horizontal spar (perhaps an inch forward if you want) and about 6″ off the kite body. Remember to include a way to attach your line. For my design, I simply added a loop to the end of the long vertical line.
Step #8 – Give it a test flight
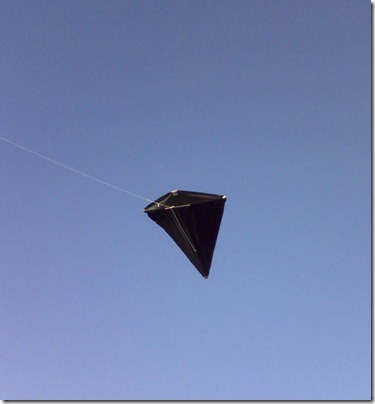
At this point, your kite should be complete. Be careful not to over-tighten the bow line or your spar will break (a fact I have already learned from experience – luckily I was able to replace it in just a few minutes). I used 17# test fishing line to fly the kite and had no problems at all. I was able to get it to a height of over 450′ in only a slight breeze.
[Home made kite in action.]
Overall this design is relatively straight forward and allows for variations and minor flaws. It does not require much wind and is easy to modify if needed. It is also very cheap and can be completed in less than an hour. I l look forward to tweaking things a bit more to see what I can come up with.
UPDATE:
I recently made these kites with some friends and I figured out a little trick. Rather than doing a single tunnel pocket for the horizontal spar, I did two offset by 6″ from center. This not only provided more stability and made it easier to see the center marks, but it also allowed me to tie the harness around the tunnel pocket instead of around the spar itself. This means if you ever break a spar, it is easier to replace because you just slide it out and the harness remains. I also added a second tunnel pocket 12″ up from the bottom the vertical spar and used this as an attach point for the harness.
I also modified the tensioner for the bow (horizontal) spar. Instead of only taping to the inside, I wrapped the packing tape all the way around the corner for a more secure hold. I also used a single large loop between the tie offs and used a single prusik knot with a tail. This maintains the balance, and only requires a single adjustment.
Very nice kite, thank you for the tutorial!
Greetz